How to find blinking status codes in search robots logs
Analysis of search engine logs is an important part of the work of SEO specialists. With the help of log analysis, you can get insights on why your website is displayed in the SERP in a certain way. In addition, you may find issues in the logs that prevent your pages from being crawled and indexed.
In this article, we will talk about how to find and analyze blinking status codes using JetOctopus.
What are blinking status codes and why you need to keep them in focus
Pages with blinking status codes are those ones that return different response codes to search engines. For example, during the first bot’s visit, the page returned a 200 response code. During the next – 301 response code. Search engines can drop such pages out from the SERP. Why? Because the main task of search engines is to show users the most relevant, fast and working web page. And a page that returns blinking status codes will be considered a search engine not working properly. It also means that the user will be dissatisfied with the result.
Analysis of blinking status codes will help identify problems with the server, redirects, and more.
It is often the case that the problem with blinking status codes that you find in search engine logs can be extrapolated to visitors. Most likely, your website returns blinking status codes also to visitors if a similar problem is found in the logs of search bots. When visitors go to broken pages, they can’t make a purchase or get the information they need. Therefore, the bounce rate may increase.
How to find blinking status codes with JetOctopus
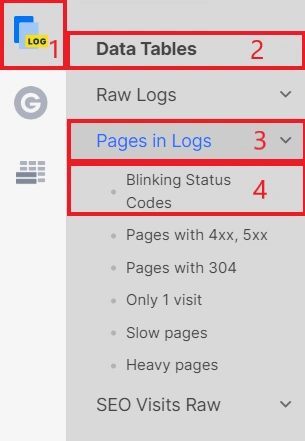
Go to the “Logs” menu. Next, go to the data table and select “Pages in logs”. In the drop-down menu, select the “Blinking status codes” report.

The “Blinking status codes” data table displays all URLs that returned at least two different response codes during the time you selected. This is usually 200 and not 200 response codes.
If you click on a number in the “Visits Count” column, you will go to the data table, which displays all the visits of the search bot to a particular page. In this data table you can get full information about when the page returned non 200/200/blinking response code and to which user agent.

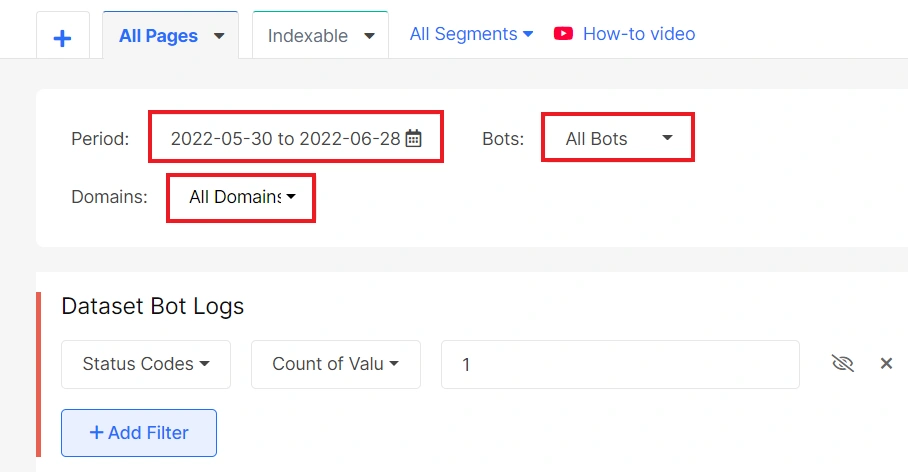
By default, we display blinking status codes for GoogleBots. However, you can select the type of bot that received different status codes.
You can also set the desired dates and select a domain.

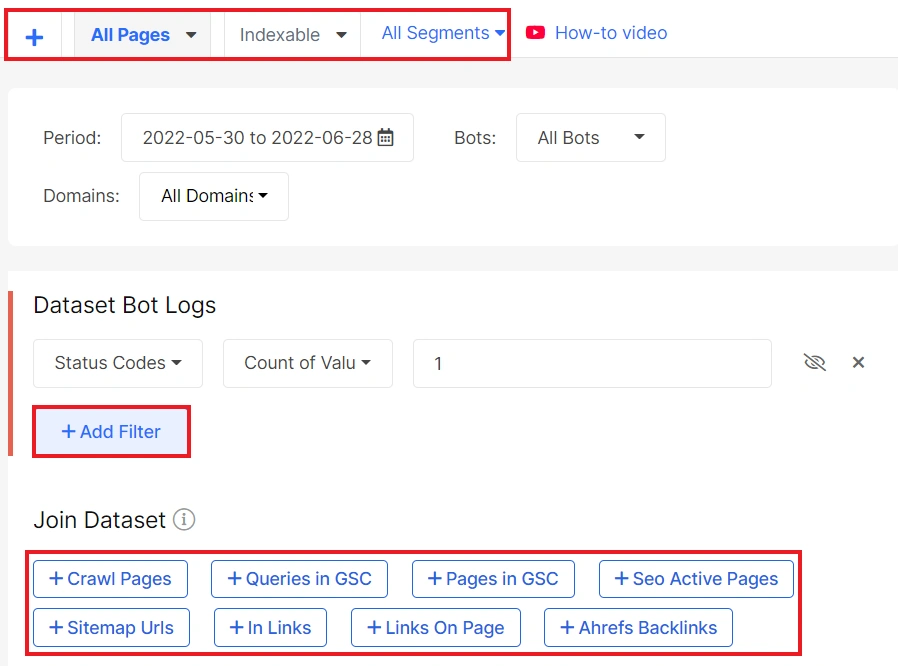
You can filter the data table using an “Add filter” button or a segment of URLs. In this way, you can analyze blinking status codes for different types of URLs, for example, only for categories or only for articles. Or just join datasets.

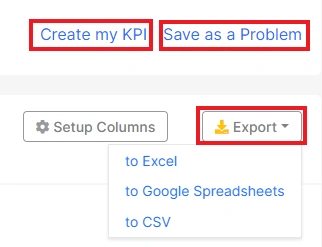
Export data in a format convenient for you: Google Spreadsheets, Excel, CSV. Also, you can create KPI or save dataset as a problem to work with it.


