
How data export to DataStudio works
Data Studio integration is one of the most anticipated JetOctopus updates in 2022. After extensive testing, all our users can integrate data to Data Studio and build custom reports. In this article, we will tell you how export to Data Studio works and what settings should be made.
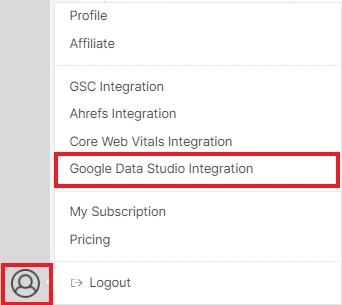
Step 1. Log in to JetOctopus and click on the user icon. Next, select “Google Data Studio Integration” from the drop-down menu.
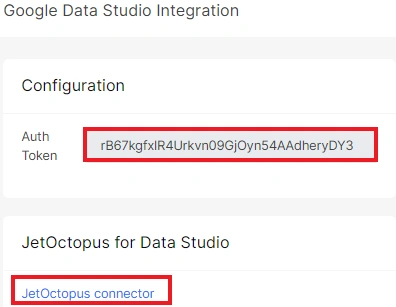
Step 2. On the page https://my.jetoctopus.com/gds-integration you will find an authentication token and a link to the JetOctopus connector. You will need them to use JetOctopus data in Data Studio. Copy the token: it is unique for each user.
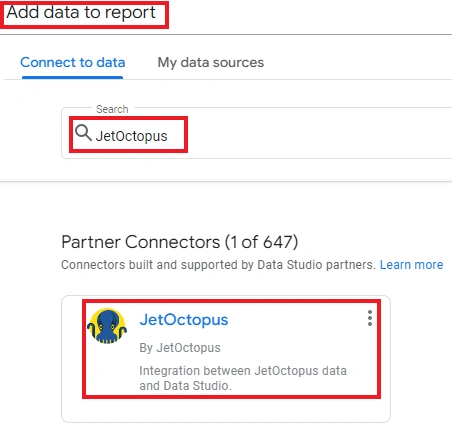
Step 3. Go to Data Studio, create a report. Select JetOctopus from the “Partner Connectors” list or enter “JetOctopus” in the search box.
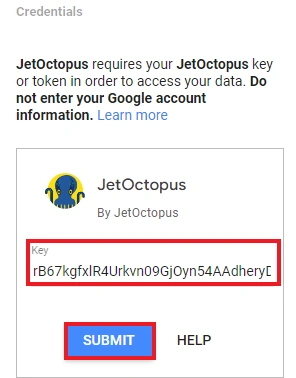
Enter the authentication token you copied earlier.
Next, rename the project and add data: click on the “Add data” button. Done! Now you can integrate data from crawls, logs and GSC into Data Studio and create great custom reports.

Step 4. Create your first report in Data Studio based on JetOctopus data!
First, select the desired project.
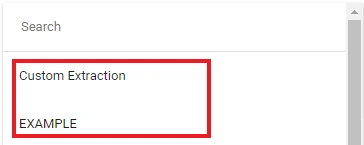
Then select the desired crawl.
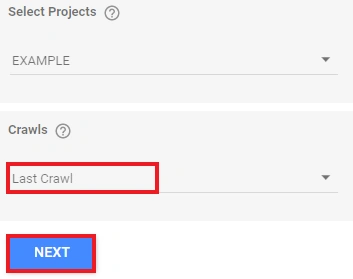
As you can see, you can generate reports for all projects and for any crawl. This is very convenient for agencies and large websites.
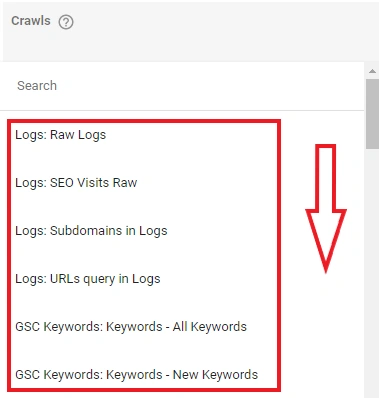
The next step is to select the desired dataset: logs, GSC data, various datasets from crawl results. Add needed data.
Configure the required fields and parameters and customize the report!
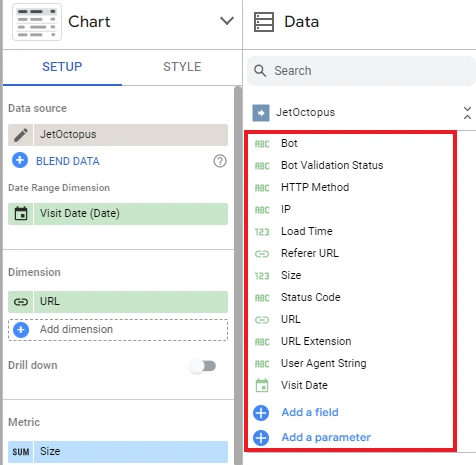
You can use as many datasets as you need. However, remember that Data Studio has its own limitations:
More information about Jet Octopus data integration capabilities in Data Studio in our video below.


