Updated information: How to configure a crawl of your website
Basic crawl settings:
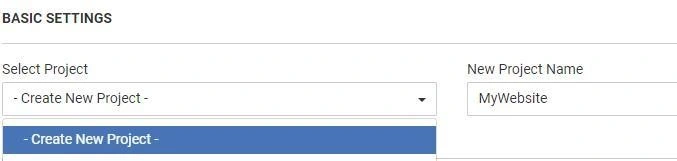
1. Project creation
You can crawl a whole website or pick up a particular segment for technical analysis. If you scan your website partially, we recommend giving a clear name for each segment. The name you give your project will be used to identify it in the JetOctopus interface.
2. Where to start a crawl
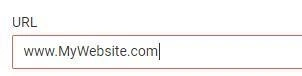
The page in the URL graph is the starting point of crawling (as a rule of thumb, the main page is listed here).
JetOctopus starts crawling from the given URL and then follows all links on that page. This way crawler discovers the next pages till the whole website (or particular segment) is crawled.
3. If your website has subdomains
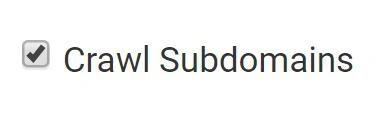
By default, if you start a crawl of a site–https://www.mywebsite.com), JetOctopus will treat its subdomain like https://blog.mywebsite.com as a different website.
You can override this behavior by ticking the Crawl Subdomain option. When you do that, JetOctopus will crawl the main domain as well as all subdomains (in advanced settings you can limit access to a particular subdomain).
❗ Note that example.eu/ or example.ru, etc. are not subdomains but separate domains.
4. Respect, or not respect: that is the question
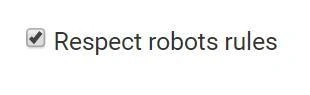
This is a crucial option. When you ask the crawler to accept robots’ rules, it will go through your website according to robots.txt/ canonical/ meta tags and other directives for search engine bots.
Since e-commerce websites with plenty of filters generate a bunch of similar pages, tick this setting to accelerate crawl, and save your crawl package limit.
On the other hand, it is useful to ignore robots’ directives to see how many pages are generated and make a comprehensive audit before website migration or redesign.
5. Crawl limit
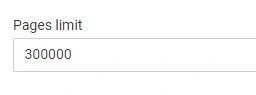
The Pages limit tells JetOctopus to stop once it discovers a given number of URLs.
JetOctopus’ crawler team strongly recommends conducting the full technical audit instead of partial crawling (here is why), but if you just want to test the crawler, enter a page limit.
6. The number of threads
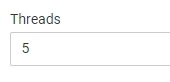
This option allows limiting the number of threads that JetOctopus uses during crawling. The more threads are used, the faster crawling will be completed. The amount of resources is limited by the capacity of your website.
You can imagine threads like the number of visitors on your website. For instance, when you set 5 threads it is as if 5 people were using your website (really fast).
Unless you are sure the capacity of your website is enough for crawler load, limit the number of threads.
7. The user-agents
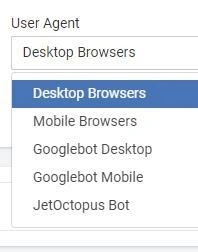
Websites usually have a desktop and mobile versions with differences in the structure and content.
By default, JetOctopus crawls using the Desktop Browser user agent, but you can change this by selecting another one from the dropdown to monitor the website like mobile or crawler bots do.
8. Sitemaps
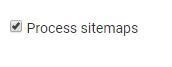
If you tick the Process sitemaps box, the crawler will analyze the sitemaps on your website.
The crawler looks for sitemaps in the root folder, for instance, website.com/sitemap.xml, and also in robots.txt. You can also specify the other way to sitemaps in an advanced setting (read below).
Advanced crawl settings
1. Include/Exclude URLs for crawling
Allow/Deny pattern allows you to limit crawl only to listed pages or deny crawling of some directories. For instance, if you don’t want to spend pages limit on pages with price tariff, add a tariff to Deny patterns.
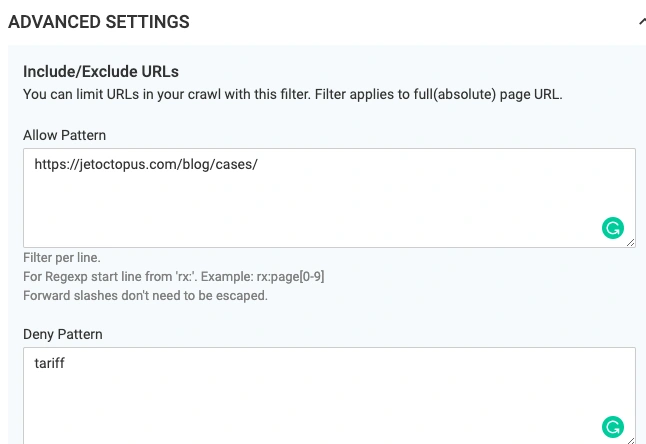
The bot will ignore all URLs that contain tariff as well as all links on those pages. Add one filter per line―without special symbols like * or $ and don’t escape forward slashes. For regexp start line from rx, for instance: rx:tariff[1-10]
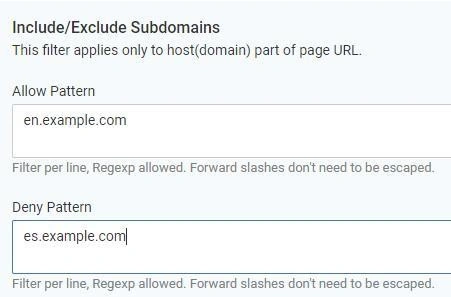
2. Include/Exclude subdomains
If you want to crawl only certain subdomains of your website and/or exclude other subdomains, you can do it here:
3. Robots.txt for crawl
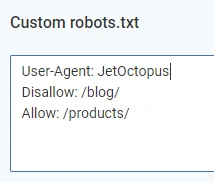
Here you can set your own rules for crawler (it works the same way as robots.txt for search bots) Mentioned directives take precedence over robots.txt in the root folder of your site.
4. For staging website
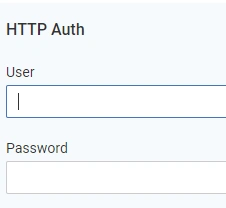
If you want to crawl a staging website that is protected by a password using HTTP authentication, don’t forget to enter your credentials.
5. Way to the sitemap
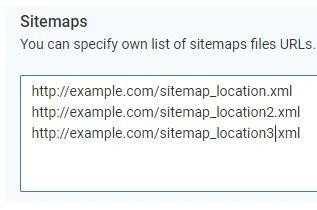
Specify your own list of sitemap files to JetOctopus (enter one file per line).
When the crawl is ready, you will find the detailed report on the Crawling Report>Sitemaps section.
6. Cookies
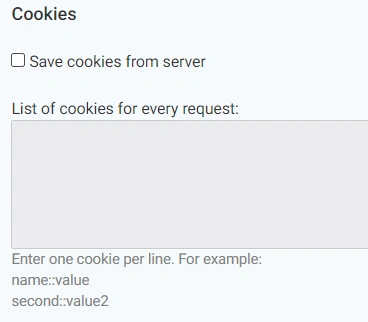
By default crawler doesn`t save cookies, it behaves as an absolutely new visitor on the website. But if you feel a need to prevent the server from possible crushing, you can turn on cookies before the crawl.
7. Custom Requests Headers
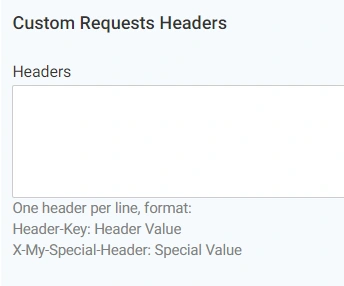
It`s a technical parameter, usually used by the system administrator to point out that crawling is allowed within the framework of the anti-parsing security system. For example, they may demand the password or the header for the crawler to be “x-crawler JO”.
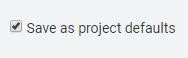
Tick this box to save your personal crawl configurations as default.
If you have any problems with the crawl,
feel free to send a message to [email protected].